Helium Leak Testing: The Definitive Technical Guide to the Fundamentals of Helium Leak Testing
Last Updated: March 2026
What is helium leak testing?
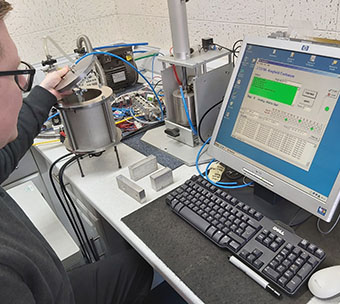
Helium leak testing is a highly sensitive non-destructive test method used to detect small leaks in sealed components. Helium leak testing is used to find small leaks or larger leaks in bigger volumes. The helium is used as a tracer gas and its concentration is measured. This guide to helium leak testing should outline the basics of using this leak testing method.
Why use helium for leak testing?
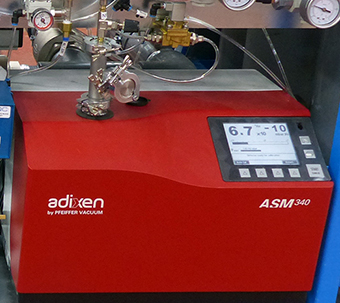
Helium is one of the smallest gas molecules and is inert. Being inert, helium is relatively safe to use (rather than hydrogen) and will not react with any of the materials within the part to be tested. In most helium leak testing applications, a mass spectrometer is used to detect helium. Although, it is also possible to use a residual gas analyser. Helium leak testing can generally be between one thousand and one million times more sensitive than using pressure decay techniques.
What are the benefits of Helium Leak Testing?
Using this technique you can leak test to find smaller leaks than with other test processes, using a largely temperature independant, dry technique. This should result in a longer product life. There are 2 basic techniques; high vacuum testing which allows leak test thresholds to be set down as low as 1×10-12mbar.l.sec-1, or sniffing which is generally used for helium leaks down to 1×10⁻⁶mbar.l.sec-1. For reference 1 cubic millimetre per second is approximately 1×10⁻³mbar.l.sec-1. or 1cc is approximately 1mbar litre per second.
Most tests use readily available Balloon Gas. On rare occasions, a certifiably pure gas can be used. On a safety note, please remember that bottled helium contains no oxygen and is therefore an asphyxiant. It is worth remembering that leakage is a flow of fluid from a higher pressure to a lower pressure through a fault in an assembly or manufactured part.
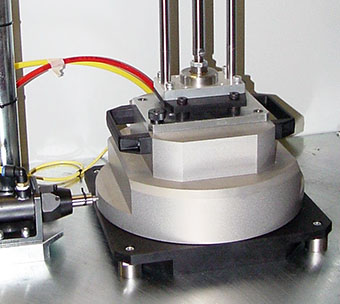
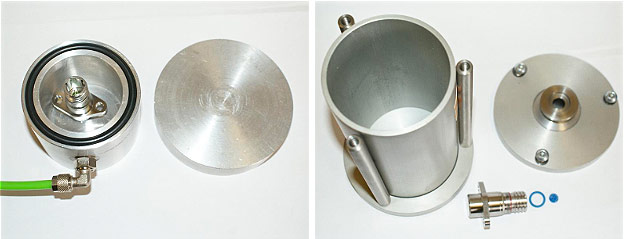
The high vacuum technique requires that the test volume to which the instrument is connected is at high vacuum, such as less than 3mbar absolute pressure. Can the part or assembly withstand this pressure? It is possible to test a part at high pressure and high vacuum at the same time. You need to arrange these pressures either side of the leaking boundary. This may mean putting the part under test inside a leak tight chamber.
It is possible to have high vacuum connected to the Mass Spectrometer and a partial vacuum in the part. This is useful if you are trying to test a 60 litre automotive fuel tank that can only withstand 150mbar pressure. One just evacuates both inside and outside, then backfills to 150mbar absolute pressure.
When testing using helium, it is possible to flood the mass spectrometer with helium if there is a large leak. In most instances, where there are many minutes between each test, this is not a problem, one just waits for the instrument to clean itself up. Alternatively, and in higher throughput systems, one might also pre-test using pressure decay to screen out larger leakers before introducing helium that could flood the mass spectrometer.
One can also either sniff or spray helium. Helium Sniffing is used where the part can be pressurised above atmospheric and a helium sniffer gun is manually positioned round the part. Spraying is where the part can be evacuated and helium is manually sprayed over the outside of the part.
Unsure which method is right for your part? Our engineers can help you decide – contact us
Background Helium Concentration
Helium can and will get everywhere if it can. It gets quite difficult sometimes to determine where the helium is coming from. There is approximately 5 ppm Helium in the atmosphere. If the part under test is filled with helium it is important that the test charge is removed properly and not just released into the immediate area. For just a few tests, the helium can be diluted in the immediate area. For more frequent testing, this may mean piping the extracted test gas away to the outside of the building on the downwind side and well clear from doors or windows that could allow it back in.
To locate helium leaks one usually either sprays or sniffs, the latter being the norm in high volume testing. When using a helium sniffer, one starts with 5 ppm background concentration in ambient air and would usually look to detect an increase of a further 5 ppm.
One can use this detectable rise in helium concentration to test parts inside a shroud where the test pressure is at or near atmospheric pressure, this is commonly known as accumulation testing. By circulating the air within the shroud and passing it by a mass spectrometer in sniffing mode, you can set an alarm limit at say 8ppm. Again it is important to flush or extract away any contaminated air once the test has completed. However, this process can take some considerable time for larger parts.
Helium leak testing at Lower Limits
When testing at 1 x10⁻⁹ and below, one may need to do additional things to be able to complete a viable test. One may need to purge away any clinging helium left in the part to be tested or the test chamber. For example, with the chamber and part open to atmosphere before the test, they are exposed to a helium concentration of 5 ppm. The helium can cling to various surfaces and affect the results of the test. So, one may need to “wash” away any clinging helium in the chamber and part in a gas containing no helium.
The sequence might be:
- Evacuate both the part and chamber
- Back fill the test volume with certified clean dry nitrogen
- Re-evacuate
- Fill the part with the test gas
Helium leak testing at high production rates
When high volume production requires high vacuum, you must also consider the time taken to pump down to the required level of vacuum, this can be significant. At higher production rates, having much shorter time to test a part, large leakers may be a problem. The flooding of the leak test instrument with helium may take several minutes for the helium to reduce to a level where testing can recommence. To reduce the effect of a large leaker one can; build up to the full test pressure in stages, build up to the full concentration, flush the mass spec with a gas with no helium present or pre-screen using an air decay technique before helium testing. Air decay pre-screening will allow known larger leaks to be to be removed prior to helium leak testing.
When testing at high speed it is important to reduce the test time to its minimum. To do this one may have to employ a number of techniques to; reduce the test volume (by infilling voids and ensuring minimum pipe run volumes), nitrogen flush, etc. Of course at high speed the automatic handling of the product and automatic connection play a large part.
Helium Bombing for testing hermetically sealed containers
When trying to test hermetically sealed containers, it would be good to try and insert some detectable helium in the assembly process prior to the final seal being made. If introducing helium inside the part is not possible, one can try to force helium into the device using a technique called bombing.
Helium bombing is achieved through forcing a leak by pressurising the device within a helium gas chamber. Typically, the chamber is first evacuated to remove barometric pressure air from round the parts and then pressurising with bottled balloon gas.
The device is then soaked in the pressurised helium to force helium into the potentially leaking part. Then the chamber is then vented and the parts taken out of the chamber.
The parts are then tested with a combination of a gross leak test, to ensure that there is not a big leak, and then a high vacuum helium leak test in an enclosed chamber using a helium mass spectrometer.
Tooling & Pipework
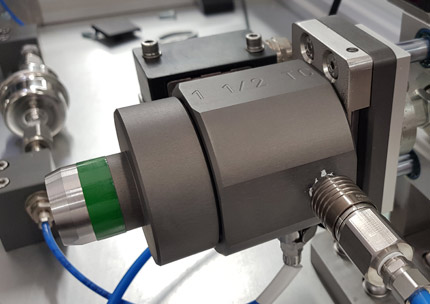
If one is intending to helium leak test a part; it is important to note that the tooling and pipework used to create the test volume and helium gas supply must be leak tight to a higher degree than the leak test threshold. This means that careful engineering of the seals is necessary, particularly where complicated seals are required, such as right angled seals for 2 perpendicular faces. One must also use helium leak tight valves and pipework and pay particular attention to the sizing of the vacuum pipework.
Helium Mixing, Helium Re-use and Helium Recovery
The quantity of helium may become significant when testing large volumes, at higher pressures and/or at high speed. There are a number of techniques to reduce the consumption of the helium gas.
First of these is to mix the helium with another lower cost gas, either nitrogen or compressed air. This is only possible where the sensitivity of the test is not compromised by the mixing process.
The second of these is to re-use the helium from one test by extracting it from the device and then pushing it into the next device. This can often be implemented by a combination of a vacuum pump and simple air cylinder arrangement if the volume is not too large. The concentration of the helium can be monitored between cycles using a mass spectrometer or another sensor. If the concentration falls below an acceptable level, the helium should be removed and a new charge of helium is used.
The third technique is helium recovery. The helium is extracted into an intermediate holding vessel to then be compressed back to high pressure to recover the helium.
Helium Leak Testing Case Studies
Ready to Implement Helium Leak Testing in Your Facility?
Don’t leave your quality control to chance. Speak with a TQC engineer today to discuss your specific leak rate requirements and discover a bespoke automated solution tailored to your production line.